First Flow
This training will be based on a use case, for this case, a video is available to be used for training the neural network, which will have the objective of detecting the Nut element, identifying its faces (smooth face and prospecting face)
Use Case: Detection and Identification of the Face of Sows
Objective:
Identify the face of the sows, informing if the face is smooth or if the face is prospecting

Follow the steps below
Login - Enter the EyeFlow platform
Access:
https://app.eyeflow.ai
**Usuario**: treinamento
**Senha**: Teste
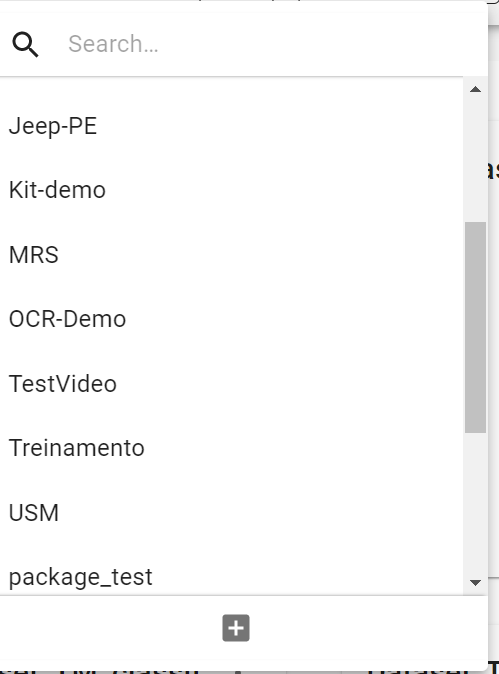
Application
Application is a subdirectory, an area made available in the tool, in which the user can create his projects (applications) to run on the neural network.
Click on the Application Tab

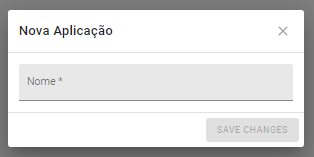
Create a new application by pressing the \ <+ > button
Create a Named Application <SERPRO.nome do aluno>
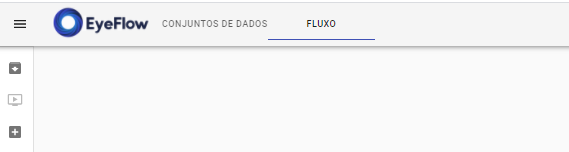
Flow
The solution allows the user to create the flow for the execution of the neural network. This solution is based on a Drag and Drop (Drag and Drop) tool that is easy to use, where users can use the components displayed in their Menu.
Click on the Flow Tab
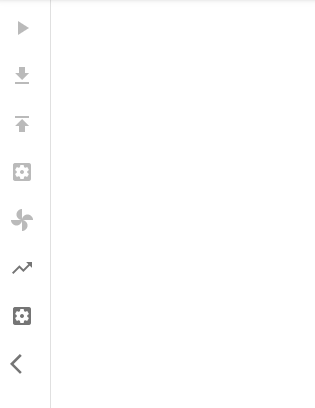
Before creating a flow we will know the existing components in the Tool, in the image we will make a brief description:
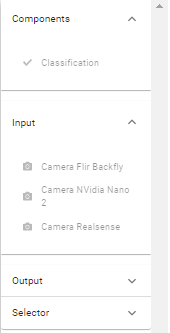
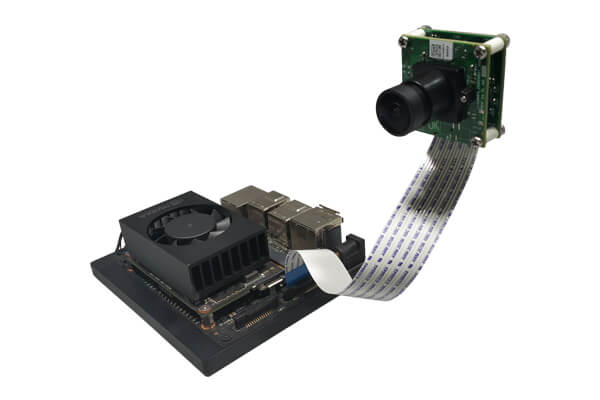
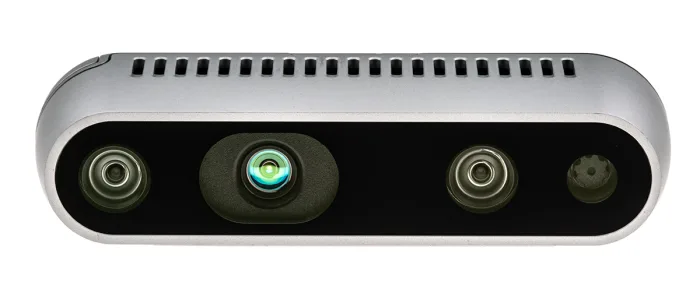
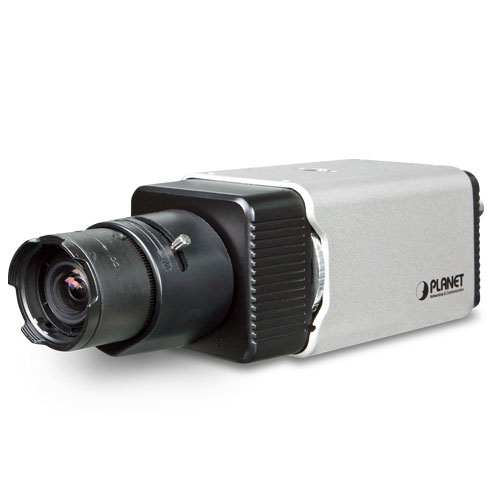 Images of the informed camera models:
Build your Flow
Input
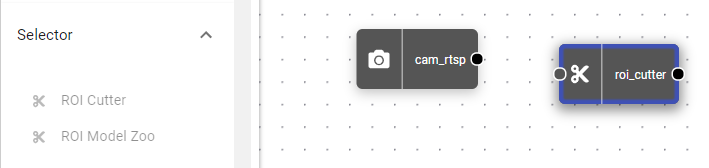
IP CAMERA - Drag the component into the stream

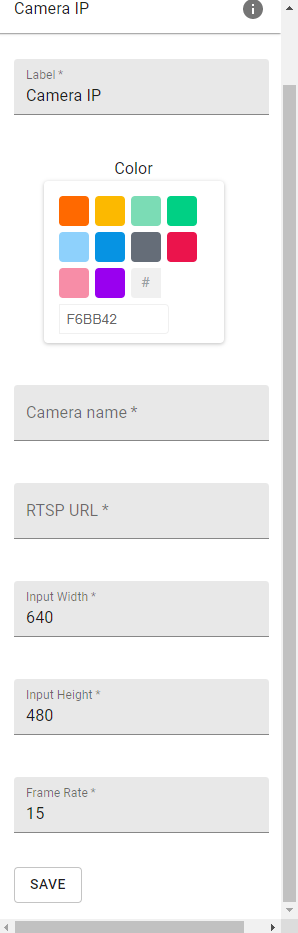
Double Click on the CAMERA IP component, the screen below will appear:
Selector
ROI CUTTER - Drag the component to the Flow
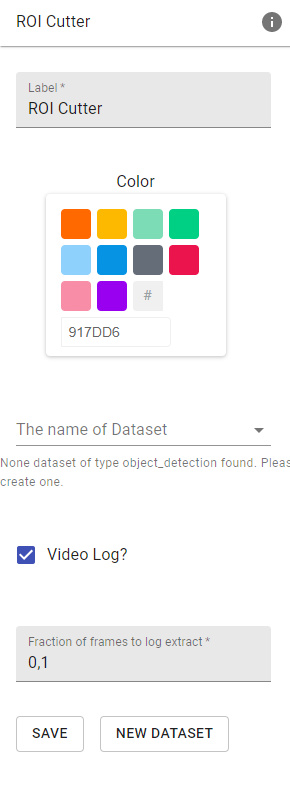
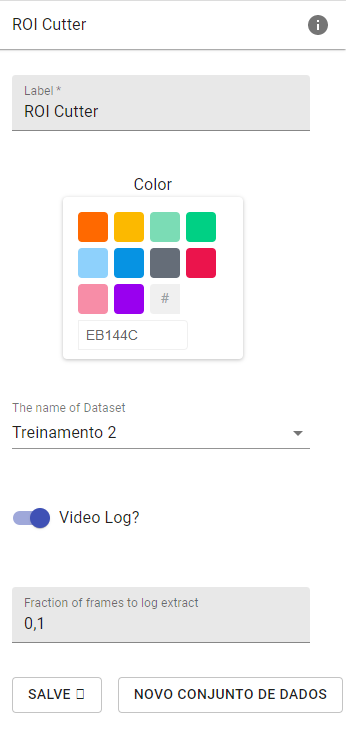
Double Click on the ROI CUTTER component, the screen below will appear:
Follow the steps
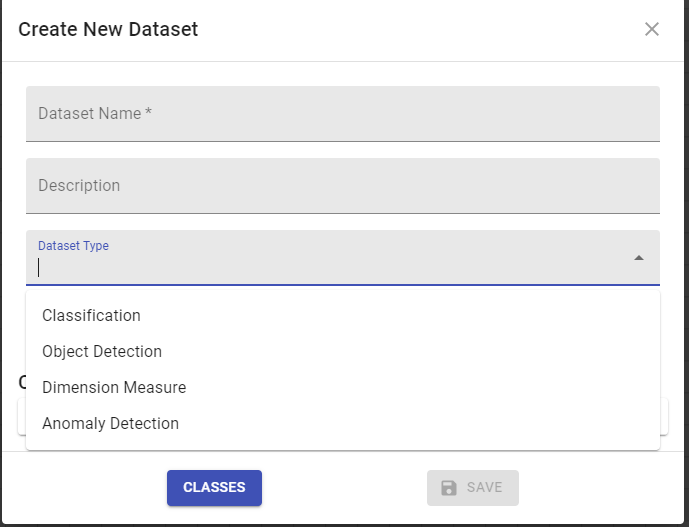
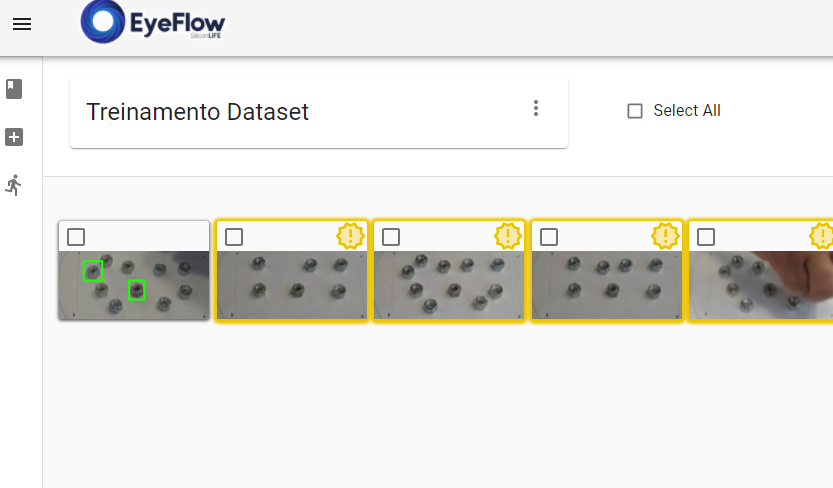
Create a new Class, following the step represented below:
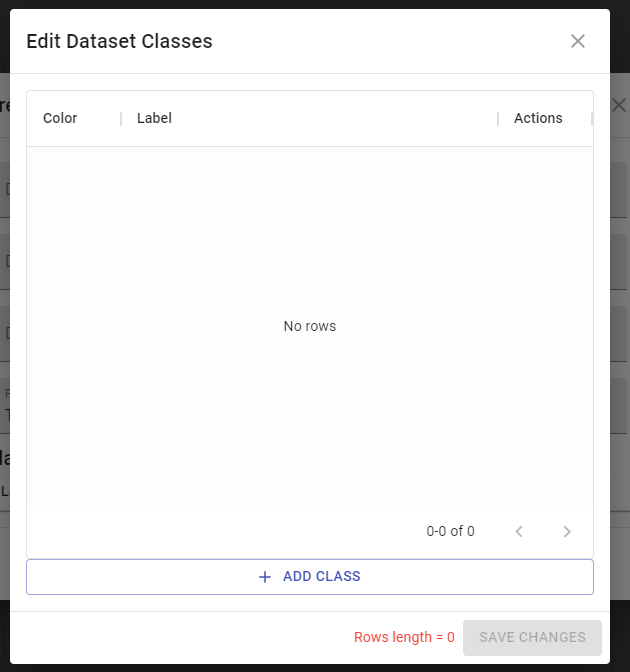
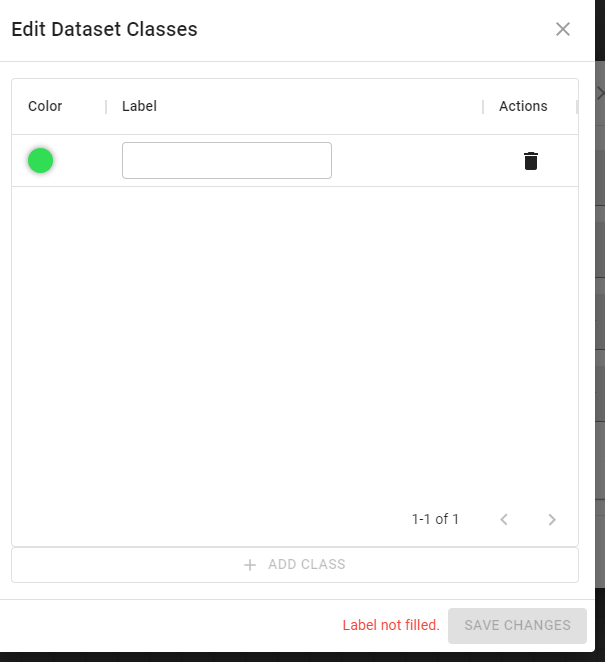
The image below will appear, in this step we will be adding two new classes
Save the settings made in the ROI CUTTER component
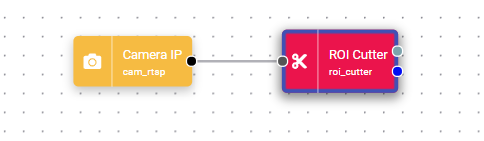
Make the communication between the IP CHAMBER with ROI CUTTER in the flow
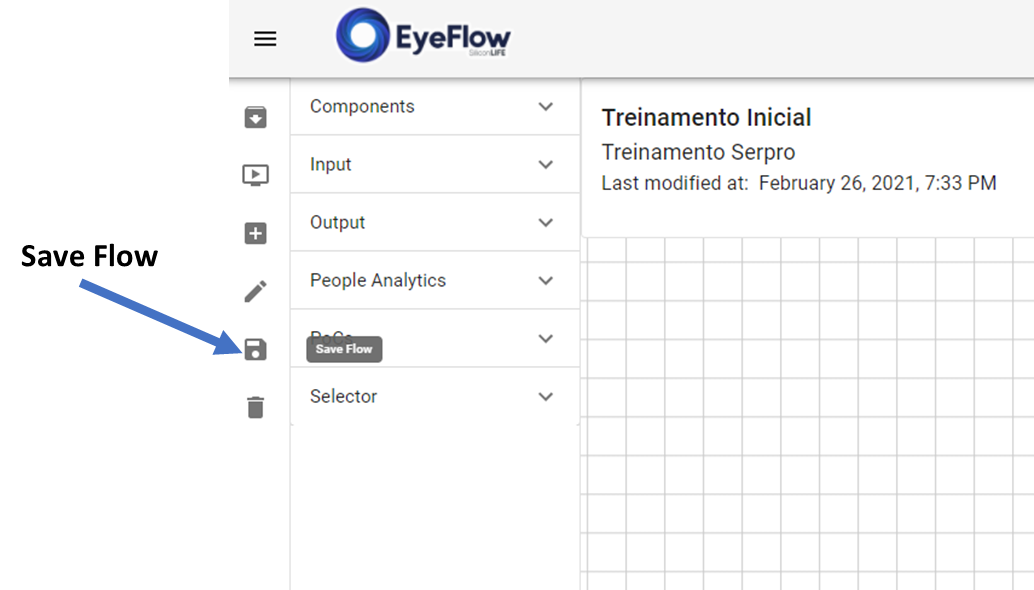
Save Flow: Click on the \ button<Save Flow>
Upload


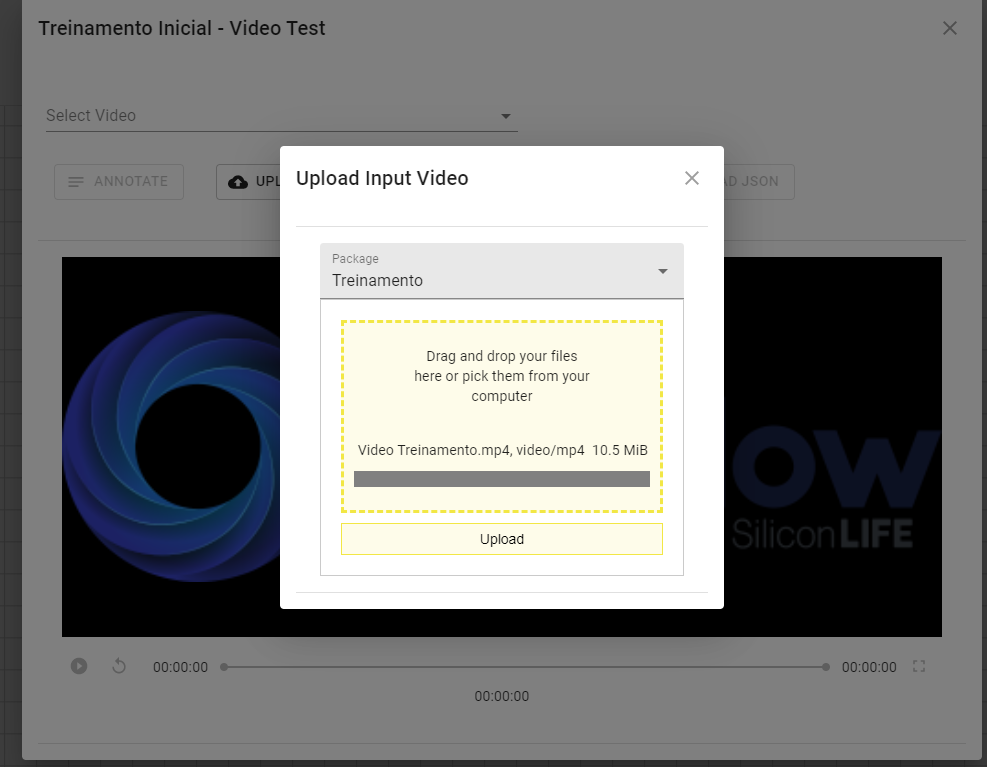
Upload video
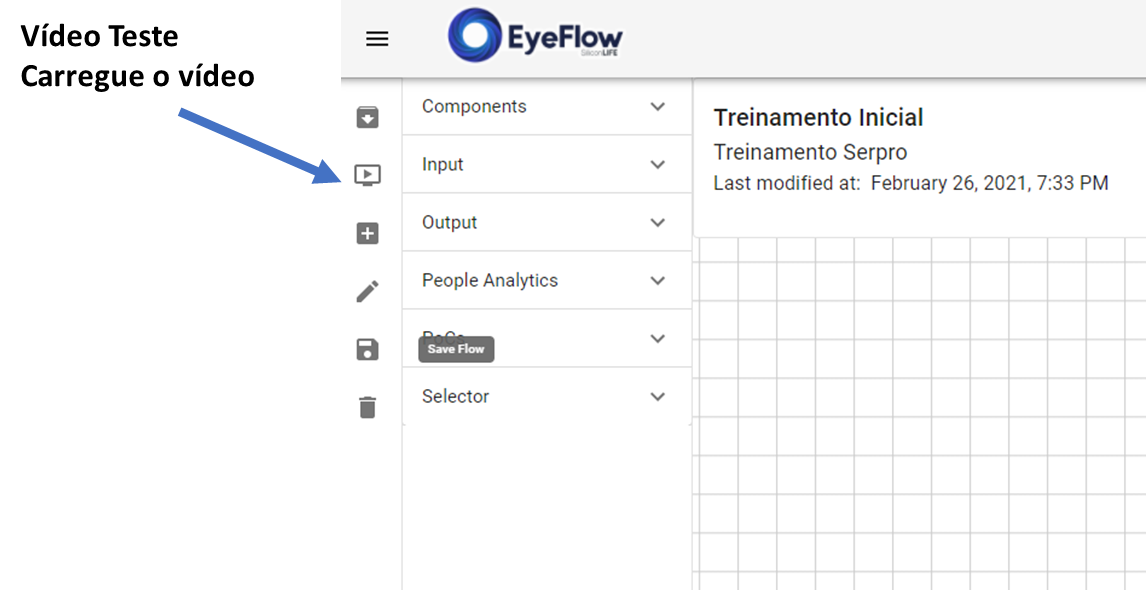
Click on the \ button<Teste Vídeo>
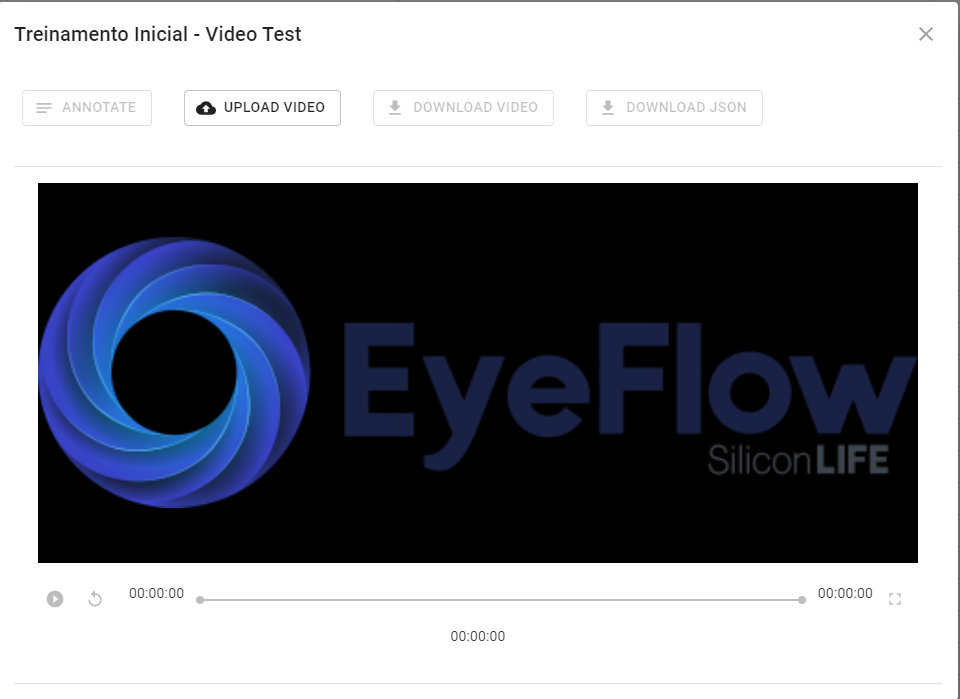
Upload Video test, click on the \ button<UPLOAD VIDEO>
Drag the video to the location you entered
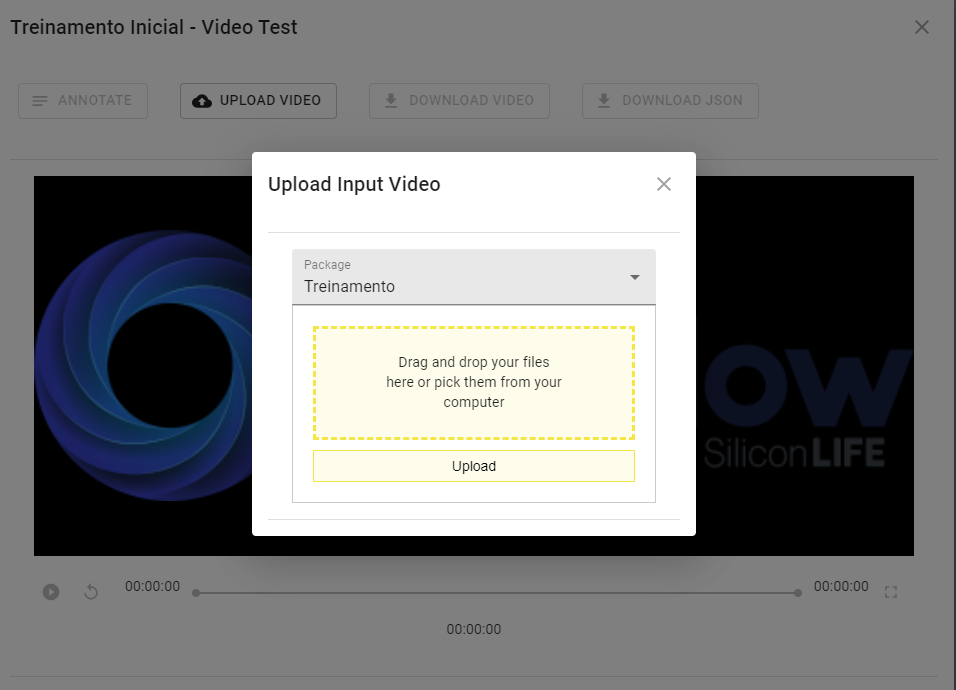
At this moment, a bar will appear showing the video load in the tool
At this point, the solution will be executing its created flow and providing new examples (frames) for its Dataset.
Dataset


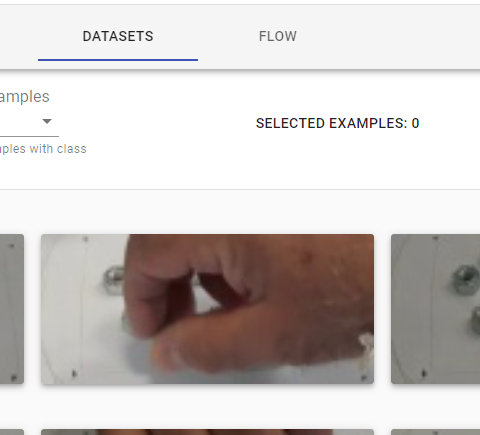
Enter the DATASETS Tab
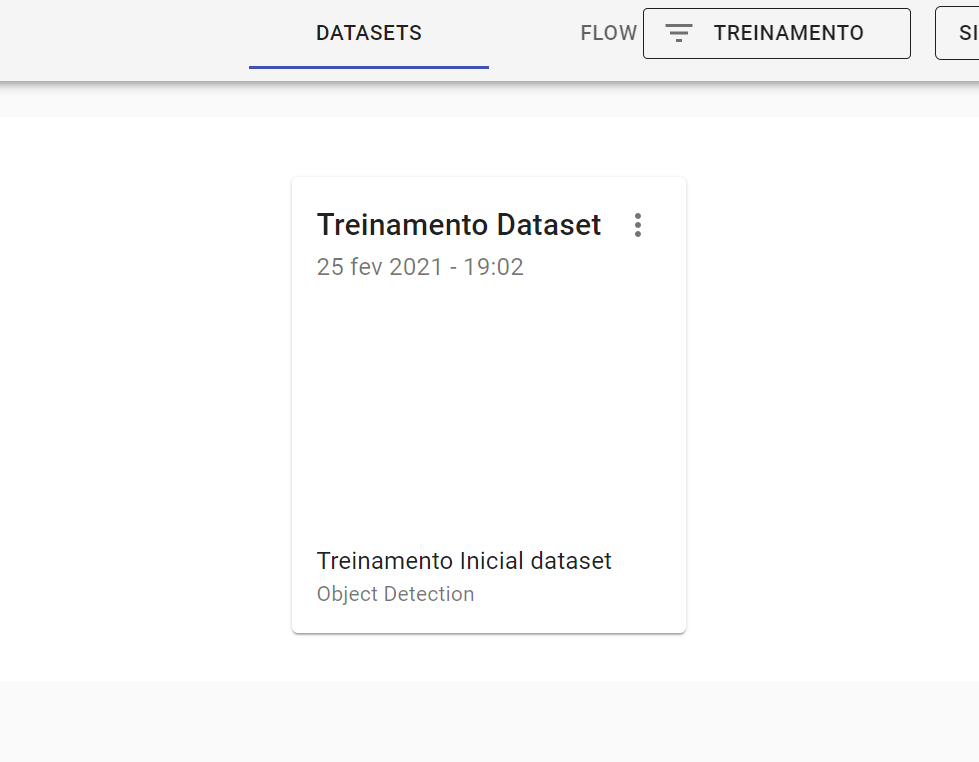
The Dataset folder will open
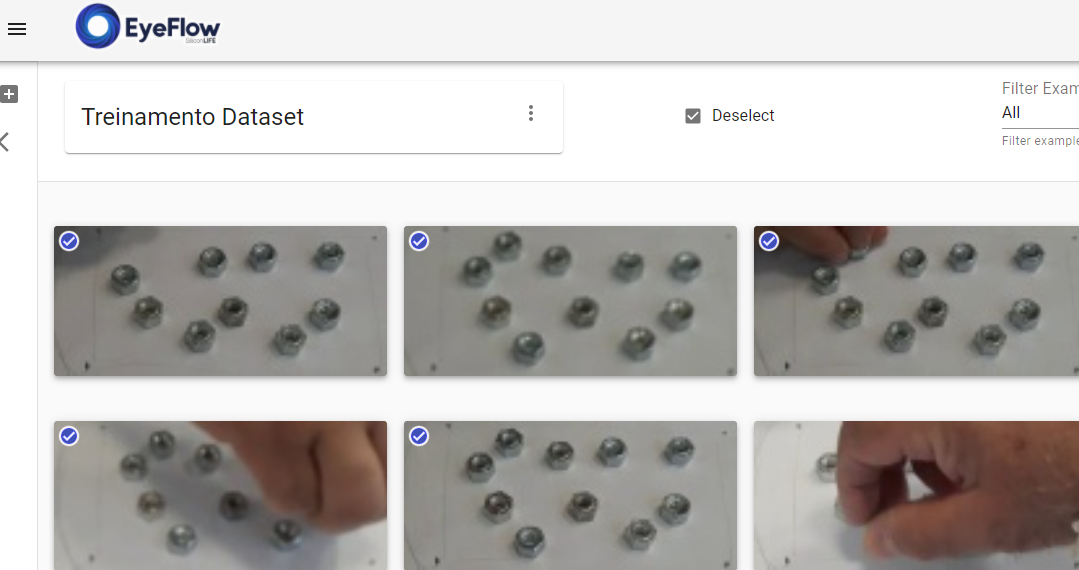
Select frames / images to be trained in the Dataset, click on the selection buttons
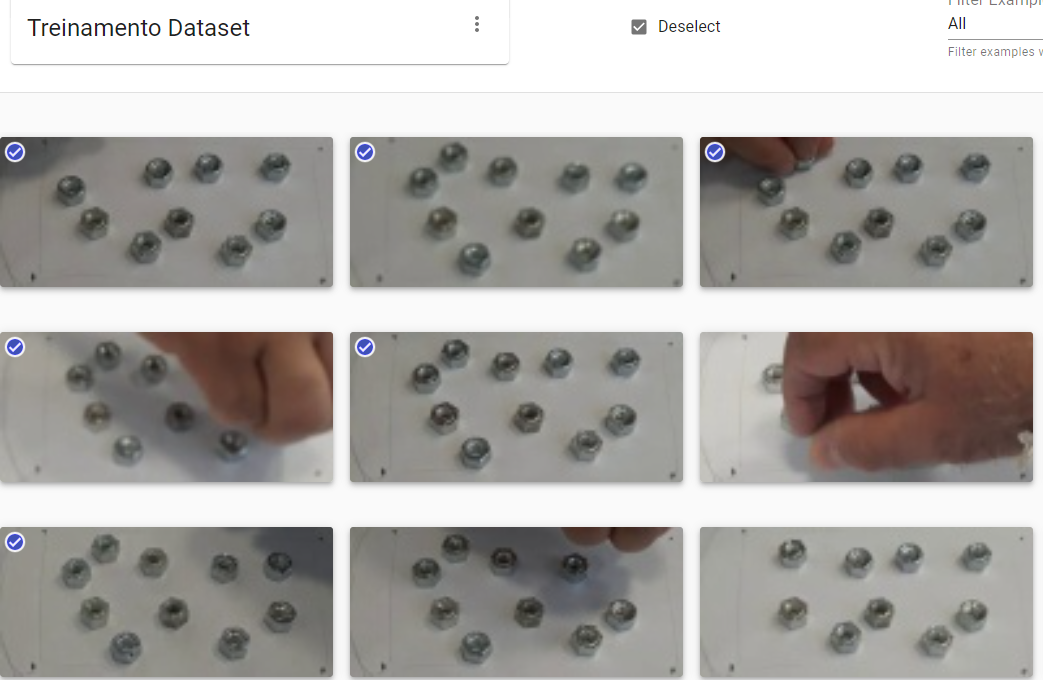
Insert the new selected examples, click on the \ button<Insira novos exemplos>
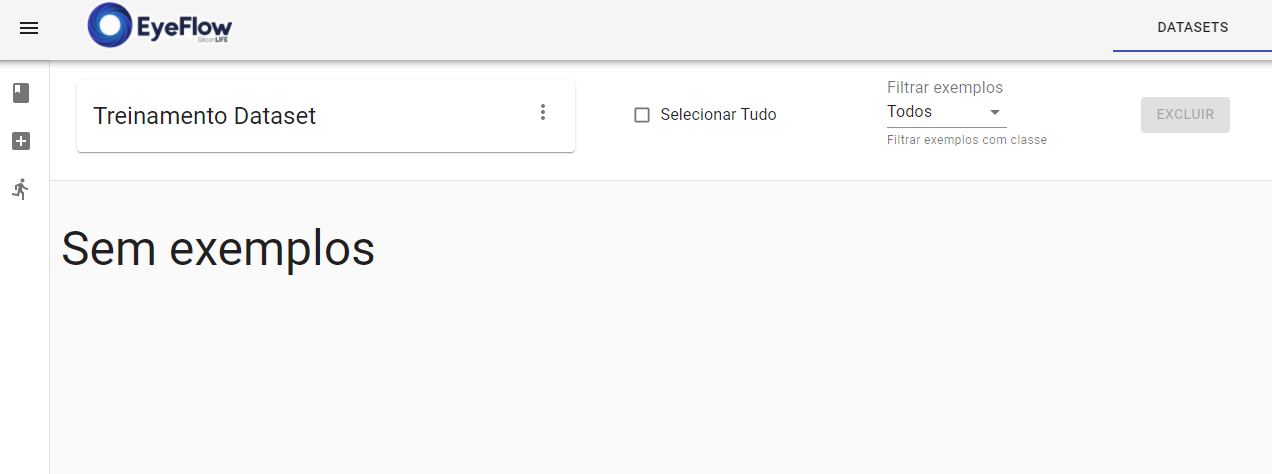
Return to Dataset Tab
Click on your created Dataset

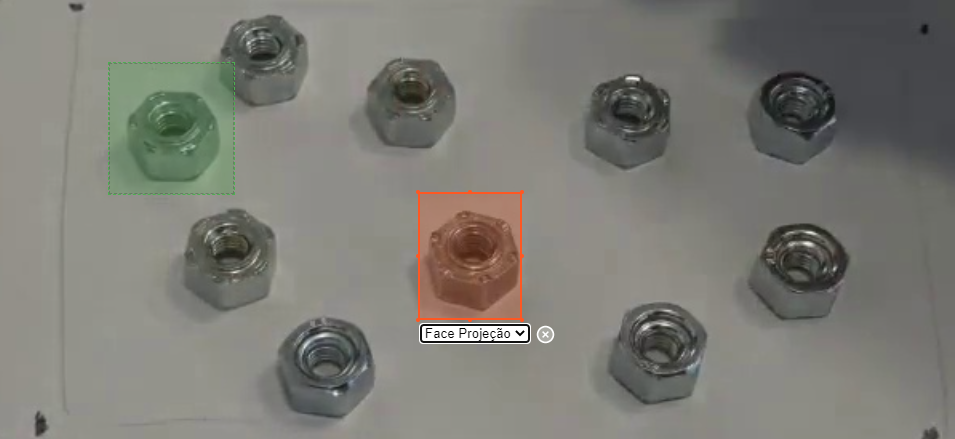
Mark the regions of interest by selecting the Nut with the Smooth Face and the Projection Face
After marking all selected frames click on the \ button<Painel de Treino>
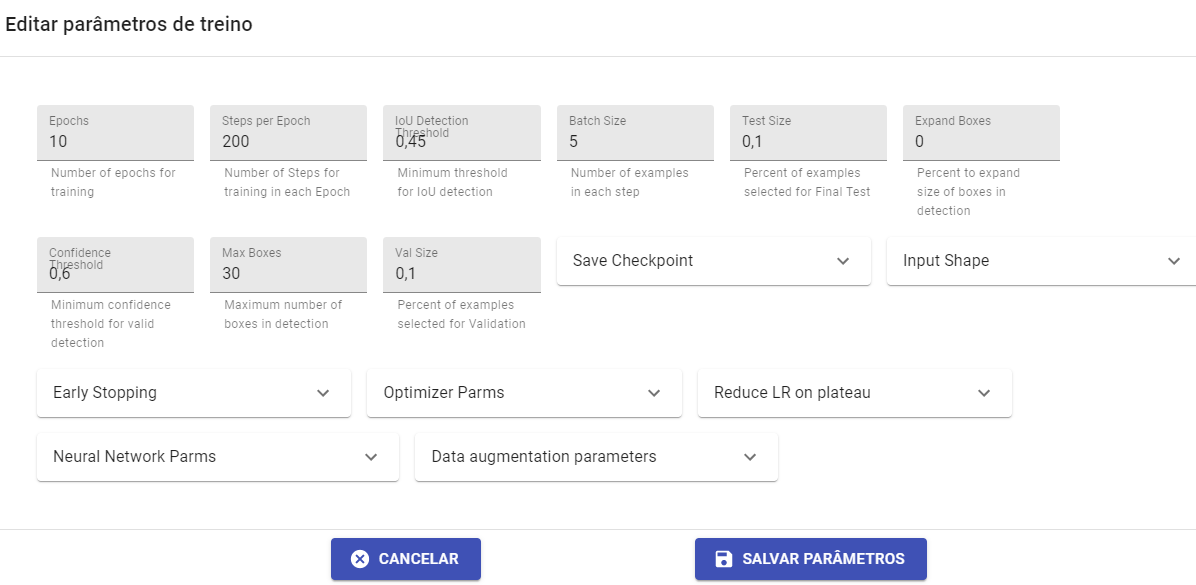
Editing Parameters for training the neural network
Follow the steps below
The image below will appear
Description of parameters in the tool
Neural network training
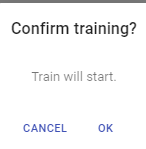
After editing the parameters of the neural network, we will submit your marked frames for training, where you will execute the flow created.
Follow the steps below
A confirmation pop-up will appear on the screen
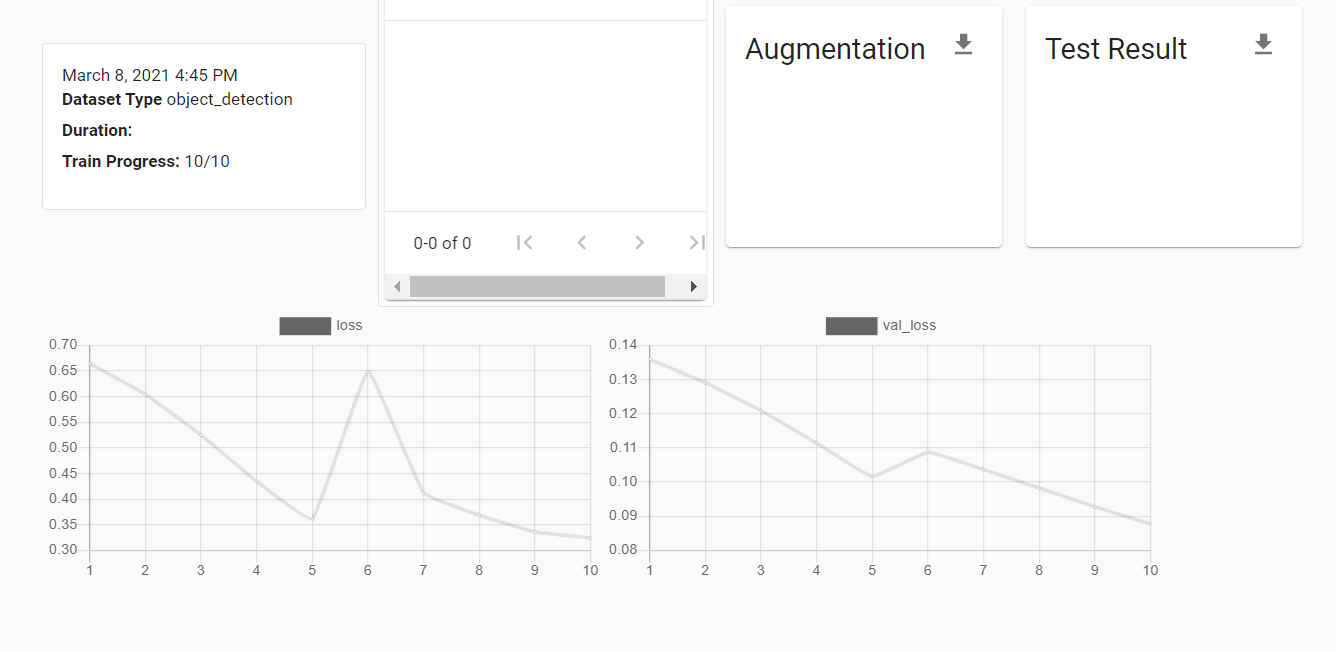
After this step, a screen will appear with the progress of the training
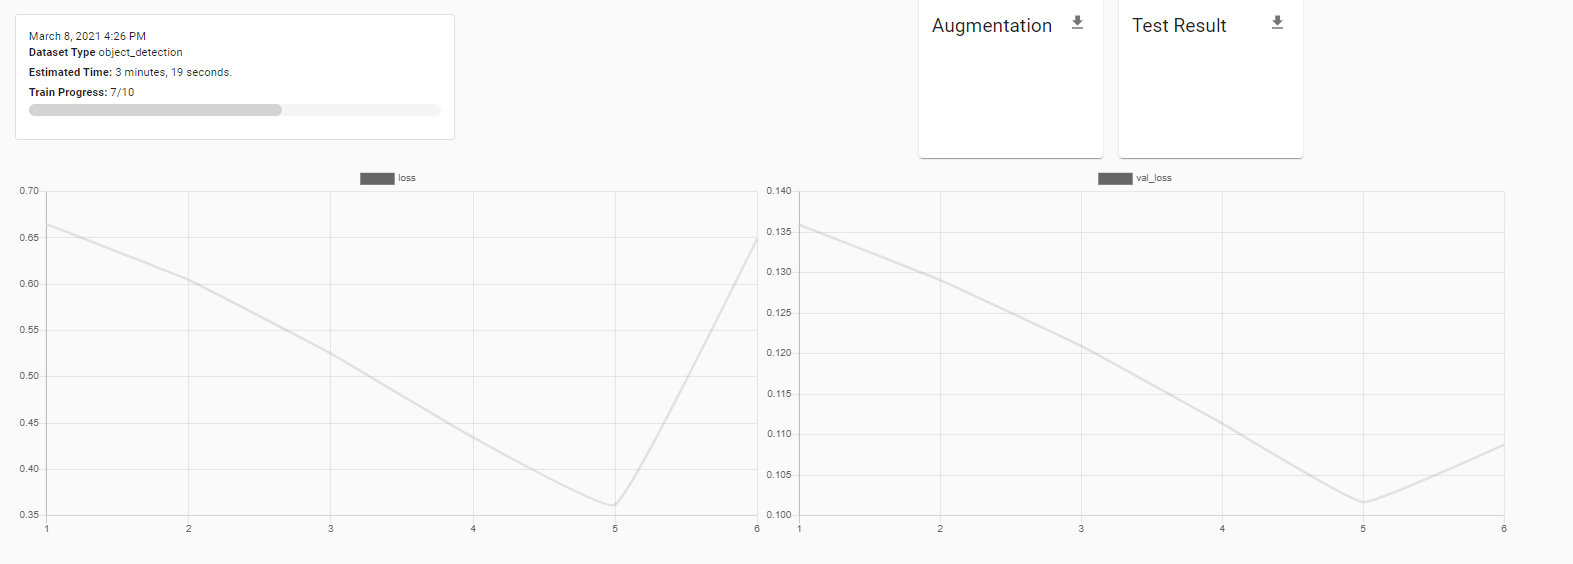
Test-result
After training the neural network, you will be able to see the training result in the report shown in the image, you will also be able to run the loaded video and observe the result you have achieved, if the result is not satisfactory, the neural network must perform a new training, for this case, we must submit new examples in Datasets, in order to improve the learning of the neural network
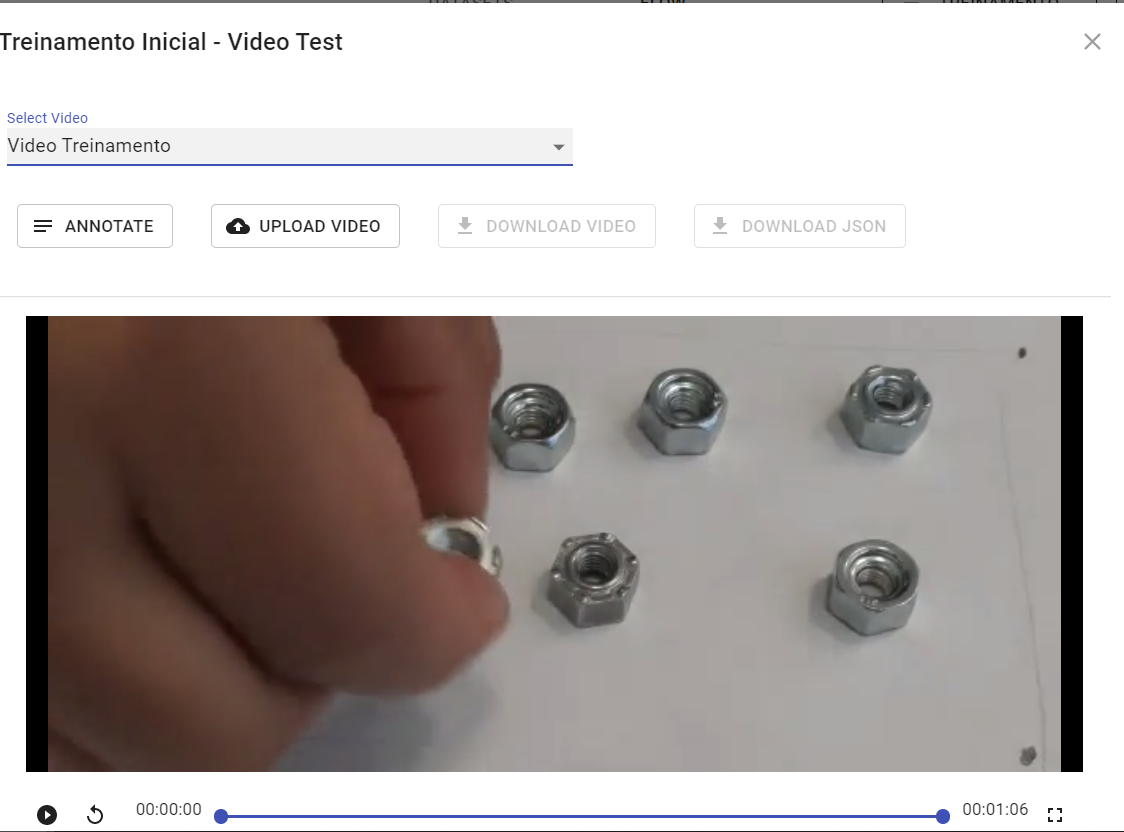
Video validation
As previously seen in the Flow item, the tool provides a test option on the loaded video.
Follow the steps below
Click on the <<Flow > Tab
Follow the steps below

Follow the steps below
After this step you will be able to check the result of your Project on the video, if the result is not satisfactory, the neural network must be submitted to a new training, for this you must perform the steps informed in the item Datasets, this process must occur until the neural network find the satisfactory result.
Feedback
Was this page helpful?
Glad to hear it! Please tell us how we can improve.
Sorry to hear that. Please tell us how we can improve.